The three great essentials to achieve anything worthwhile are: hard work, stick-to-itiveness, and common sense. ~Thomas A. Edison
The last two weeks have been all about the cabinetmaker (Bill), the painters, and Casey the tile guy. But, the cabinetmaker worked seven days a week and some very long hours in those days, too.
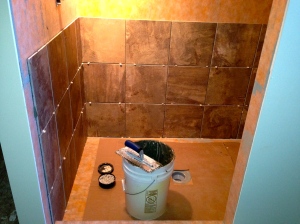
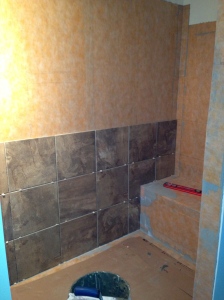
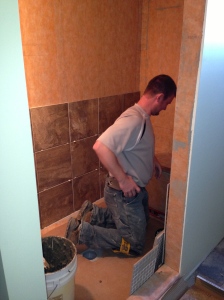
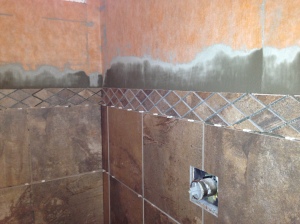
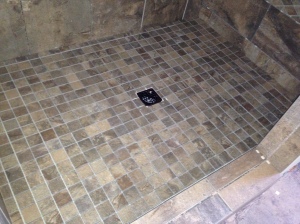
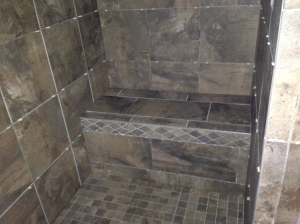
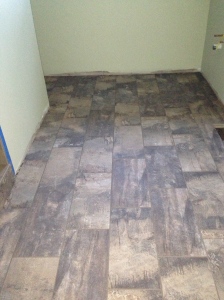
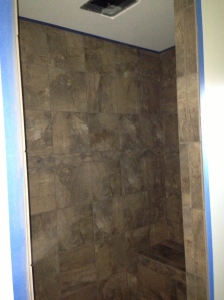
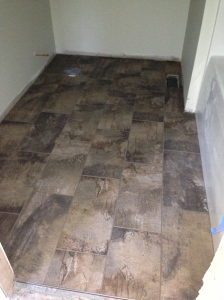
Let’s start with the tile. Casey worked on tiling the shower on Monday and Tuesday, March 10 and 11. He returned on Wednesday, the 12th, to grout both bathroom floors and the shower. Bill said he showed up again one day last week to do some caulking. As far as we know, tiling is done!
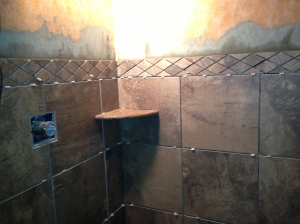
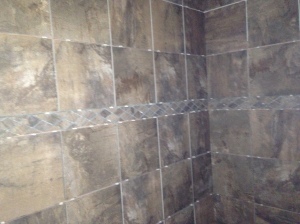
I’m really happy with the job Casey did. He is a tile professional. However, I have to admit, I’m a little bummed out how dark this tile ended up being. It really makes the shower look so dark and I really wanted the decorative tile band to stand out more than it does.
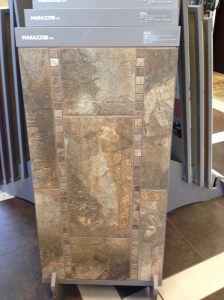
If I can give any advice, don’t totally go by the photos you take from your phone or camera OR by photos on the web. Case in point. Look at the web snapshot of the Marazzi Vesale Rust tiles and the photo I took – both Rust – the color I chose. It looks a lot lighter than how it really looks.
I would suggest bringing the sample to your home and place it in the places where it is going. Honestly, I’m not sure why I didn’t do that with the tile. I had samples of everything else. ![]()
Don’t get me wrong – I still like the tile and it will go really well with the rest of the choices in the room. It will help when we have lights installed in the room to brighten it up.
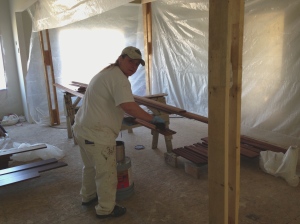
Moving on to the painter(s) and cabinetmaker. Shayna worked every weekday the week of March 10. She is a very hard worker and very good at what she does.
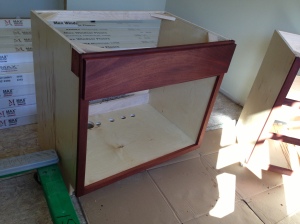
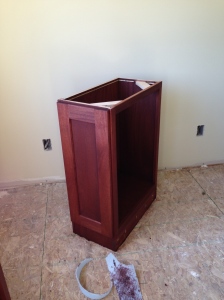
Shayna ended up getting all the trim stained and poly sprayed and then she started working on staining the cabinets. Bill had finished building the island cabinets over the weekend, so he had Shayna start on those first. This was Monday, March 10.
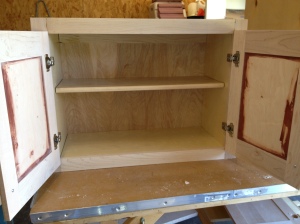
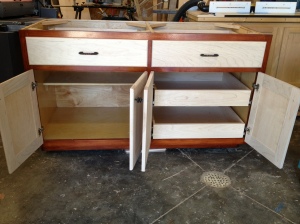
Bill couldn’t get cabinets put together fast enough to keep up with Shayna. I offered to help Bill and he usually always says no. You’ll see why. This time he said I could help him sand doors. I said okay. Bill got out all the maple doors he made for the laundry cabinets. He told me to use the hand sander and sand the curved sides. Really? I asked him how I’d do that. He showed me. I tried it. I freaked out! Yes, I did. I told him I was afraid I would sand too much off and ruin the doors. He said then I should hand-sand the inside part. So, I did that for a bit. Then, he gave me the cabinet doors that he had previously stained the corners with the stain we thought we were going to use. All that stain needed to be sanded off.
Honestly, I have no idea how Bill does it! My hands were killing me sanding those doors. I bet I worked a total of 45 minutes! My hands were a mess for over a week. They were cramping during the night and I lived on Tylenol. I’m a whimp! And, that is the reason Bill always says no when I ask if I can help.
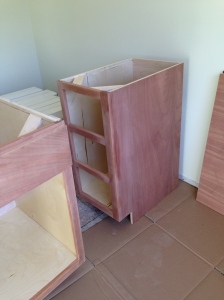
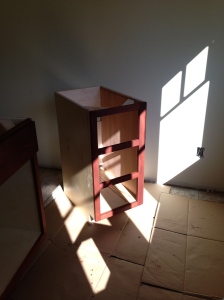
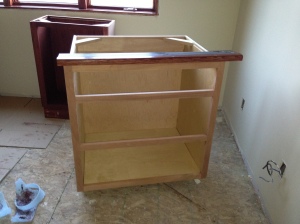
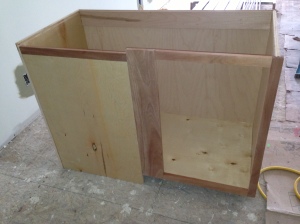
Bill and I weren’t sure what we were going to do with this cabinet for the laundry room. It couldn’t be re-stained. This was the first cabinet Bill built for the new house.
When he started building the cabinets in 2012, he thought he’d make one from start to finish (including staining and finishing) and then move on to the next cabinet. However, he found that it would be easier to make all doors at the same time, all drawers at the same time, all face-frames at the same time since his equipment would be set up for each procedure. It would be too much trouble changing out for each procedure for each cabinet. So, this cabinet had a stain and finish on it and it would be different from what we were going to use for the other cabinets in the same room. Bill said if he had time after all the other cabinets were made and assembled, he would think about remaking the face-frame and sides for this cabinet OR we would just use it in the garage. More on this cabinet later. This was the only cabinet we had the movers move as is.
Back to the laundry cabinet doors . . . So, we took the stack of doors over to Shayna so she could start staining them with the same custom mix stain we were using on the trim and kitchen cabinets. It was time for lunch and Bill said he would be coming up to the house. But, then he didn’t. About 1/2 hour later my phone rang and all Bill said was, “I need you come down here. We have a problem with the maple laundry cabinets.” Oh no!
It wasn’t good. Shayna started staining the maple doors and dark marks started showing up on several of the doors. By the time she got to the fourth or fifth door the stain was blotching.
She stopped and went and got Bill from the pole barn to show him. That’s when he called me. Previously, Bill had tested the stain on two large pieces of maple wood he was using. One piece he had applied a stain controller before applying the stain. The other one did not have the stain controller. I chose to go without the stain controller. Live and learn. However, I’m not sure I would have liked the color of the stain even with the controller. It was lighter than without the controller underneath. So, I asked if we could do anything else about staining at this point and Bill said no – not without stripping the stain and re-sanding. And, to be honest with you, Bill was done with it all. I then asked if we could paint the cabinets. The answer from both Bill and Shayna was Yes! So without blinking an eye, I said, “Let’s just paint them.”
Good News: Bill said, “Well, now we can use that stained cabinet again in the laundry room since it can be painted!”
Bad News: I had to make a decision on what color to paint the cabinets, research paint brands, and decide whether I wanted a glaze technique or not.
While Bill continued to glue and clamp cabinets, Shayna stained, sanded, and sprayed poly. She lost one day’s work when the poly bubbled on everything she sprayed and she had to sand it off and re-apply it the next day. Bill thought there was too much moisture in the house from the tile grout since it was the same day as Casey grouted everything. The next day the poly worked fine.
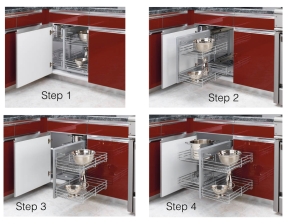
Have I shared how we are using this cabinet? We purchased a Rev-A-Shelf Blind Cabinet organizer that will go inside. Here is how it works.
Nifty, huh? Neither Bill or I are big fans of Lazy Susan corner shelves. And, since we had no way around not having a corner cabinet, this is what we decided on. This was not a fun cabinet for Bill to figure out how to make. And, when we flipped the house before we started building, this was one of the cabinets that had to be remade. And, that upper corner cabinet had to be remade . . . well, that cabinet has been a pain from beginning to end. We recently made adjustments to door arrangement, too. I don’t have a picture of it yet as it has not been assembled. Poor Bill was doomed from the beginning with these cabinets. But, oh, how beautiful they are turning out! I am so proud of Bill! I am so lucky to have such a creative handy engineer husband!
And, just for something different to do, Shayna started to do some cut-ins with the family room paint.
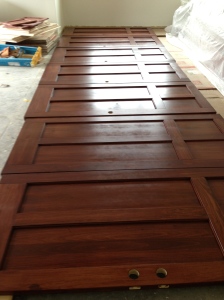
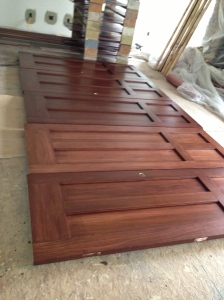
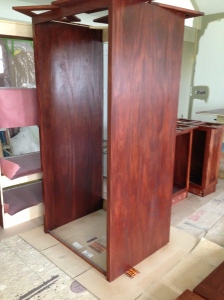
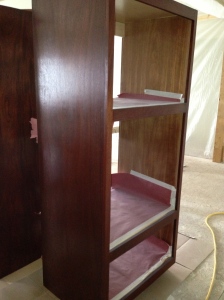
Bill worked over the weekend (March 15-16) on assembling the large microwave/oven cabinet and the refrigerator cabinet because Mark and Shayna were planning on spraying poly on Monday and Tuesday, March 17 and 18. Shayna stained the two large cabinets first thing in the morning. Then Mark and Shayna started spraying poly on the interior doors. Tuesday they sprayed the large cabinets, cabinet doors, and some other cabinet pieces. Shayna was going to brush on the poly on the face frames of the other cabinets.
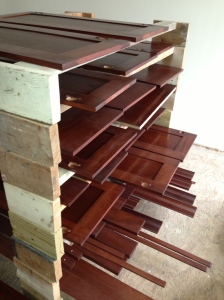
It’s a long process for stained wood. For the interior doors and cabinet doors and trim, they could only spray one side at a time. Then, it had to dry for a day. The next day, they would sand it and spray again. The next day, they sprayed the other side. That’s where we are at. They still need to sand and spray again. We were hoping they would be done with that on Friday, the 21st, but it was a beautiful spring day with a high of 70 degrees. Neither of the painters showed up. Go figure! 🙂 I could hardly blame them.
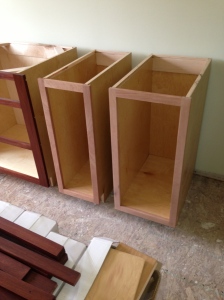
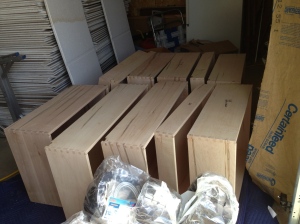
I did help Bill again last weekend when he assigned me the job of puzzle piece organizer. We had stacks and stacks of cabinet parts. We thought we had marked all the pieces before we moved last summer. Guess not all of them. I was able to find the sides for all the upper kitchen cabinets and stacked them separately. That took a couple of hours. Again, it made me appreciate even more how much Bill had done in the last two years. There were so many parts to every cabinet, I was shocked!
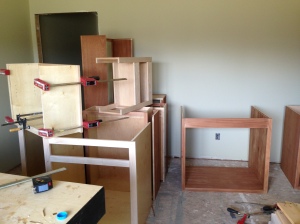
As of today, he is down to two more cabinets to assemble! The last two are the upper corner cabinet and the huge pantry cabinet. He has Zach, a college student, coming tomorrow to help him with the pantry cabinet. The man has been a beast putting these cabinets together.
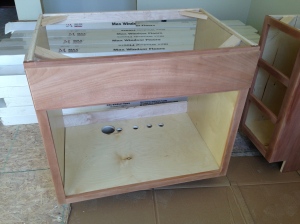
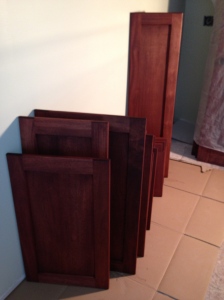
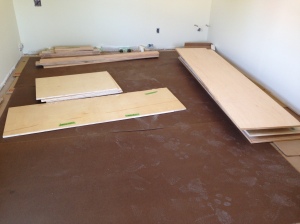
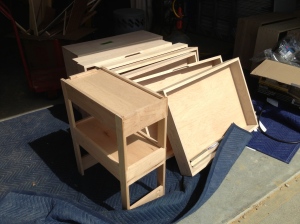
Here are the parts for the huge pantry cabinet. Bill and Zack are going to assemble in the laundry room so they won’t have to move it in and out of rooms. Mark said they could paint it in there.
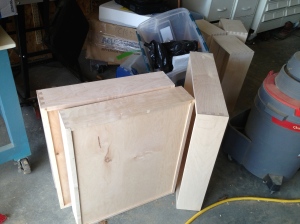
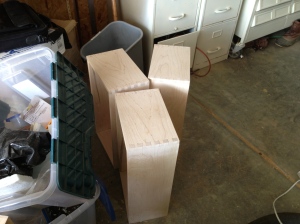
Although Bill is seeing the end of the cabinet-making tunnel, unfortunately, he still has a lot more to do. He has to lightly sand all the cabinet drawers. Believe me, I asked for lots and lots of drawers.
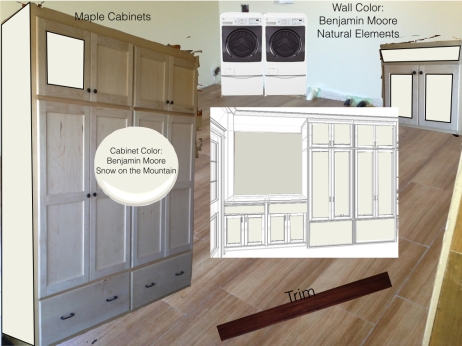
As far as the laundry/pantry cabinet color – I did finally make a decision. Since the darkness of the bathroom tile bothered me, I decided to go light and without a glaze! I always wanted the laundry/pantry room to be filled with light and cheerful looking. I decided to go one shade lighter than the wall color (which was natural elements) – Benjamin Moore’s snow on the mountain. Mark and Shayna assure me the cabinets will be beautifully painted.
I played around way too much on the computer before making the decision on what color for the cabinets. This is what I do. I have to visualize how it looks before making a decision. That’s me!
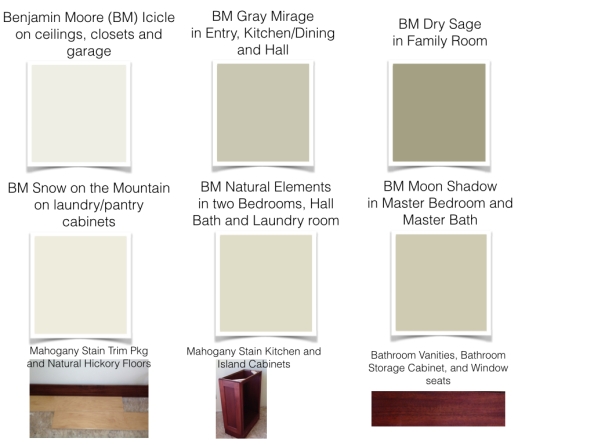
I hope that is the last of color choices I have to make for anything major in the house. Here’s a mood board of the house interior colors.
I’ll end today’s post with a new addition to our house. Our temporary cheap mailbox Bill installed last summer as soon as we moved down here had a hard winter. Every time it snow, it ended up like this.
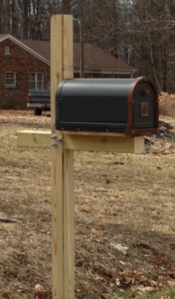
On one of the warmer days when the ground had thawed out, Bill installed our new mailbox. The grandkids called it the fancy schmancy mailbox. This was all Bill – he picked it out and built the post (of course!). It’s big. It’s heavy-duty. I love it!










The cabinets are so beautiful in any stain! Love the new smantzy mailbox, too! Paula
Thanks, Paula! The grandkids like the mailbox because it doesn’t wobble. When I pick the kids up from the bus, we usually drive to our mailbox and one of the grandkids reaches out and gets the mail from the car window. This mailbox is solid and doesn’t move. 🙂