It takes a lot of courage to show your dreams to someone else. ~Erma Bombeck
Six years ago we started this dream of ours. Seventeen months ago, I decided to share this dream with family and close friends by writing my first blog. Then, I really got brave and opened the blog up to the world. Scary!
The whole adventure of building this home has been exciting and more overwhelming than we could have ever imagined. It has consumed our lives for the last year. We are ready for the journey of building to be over. We want to continue our dream . . . just dreaming in our own bed in our own bedroom in our own home. That time is almost here!
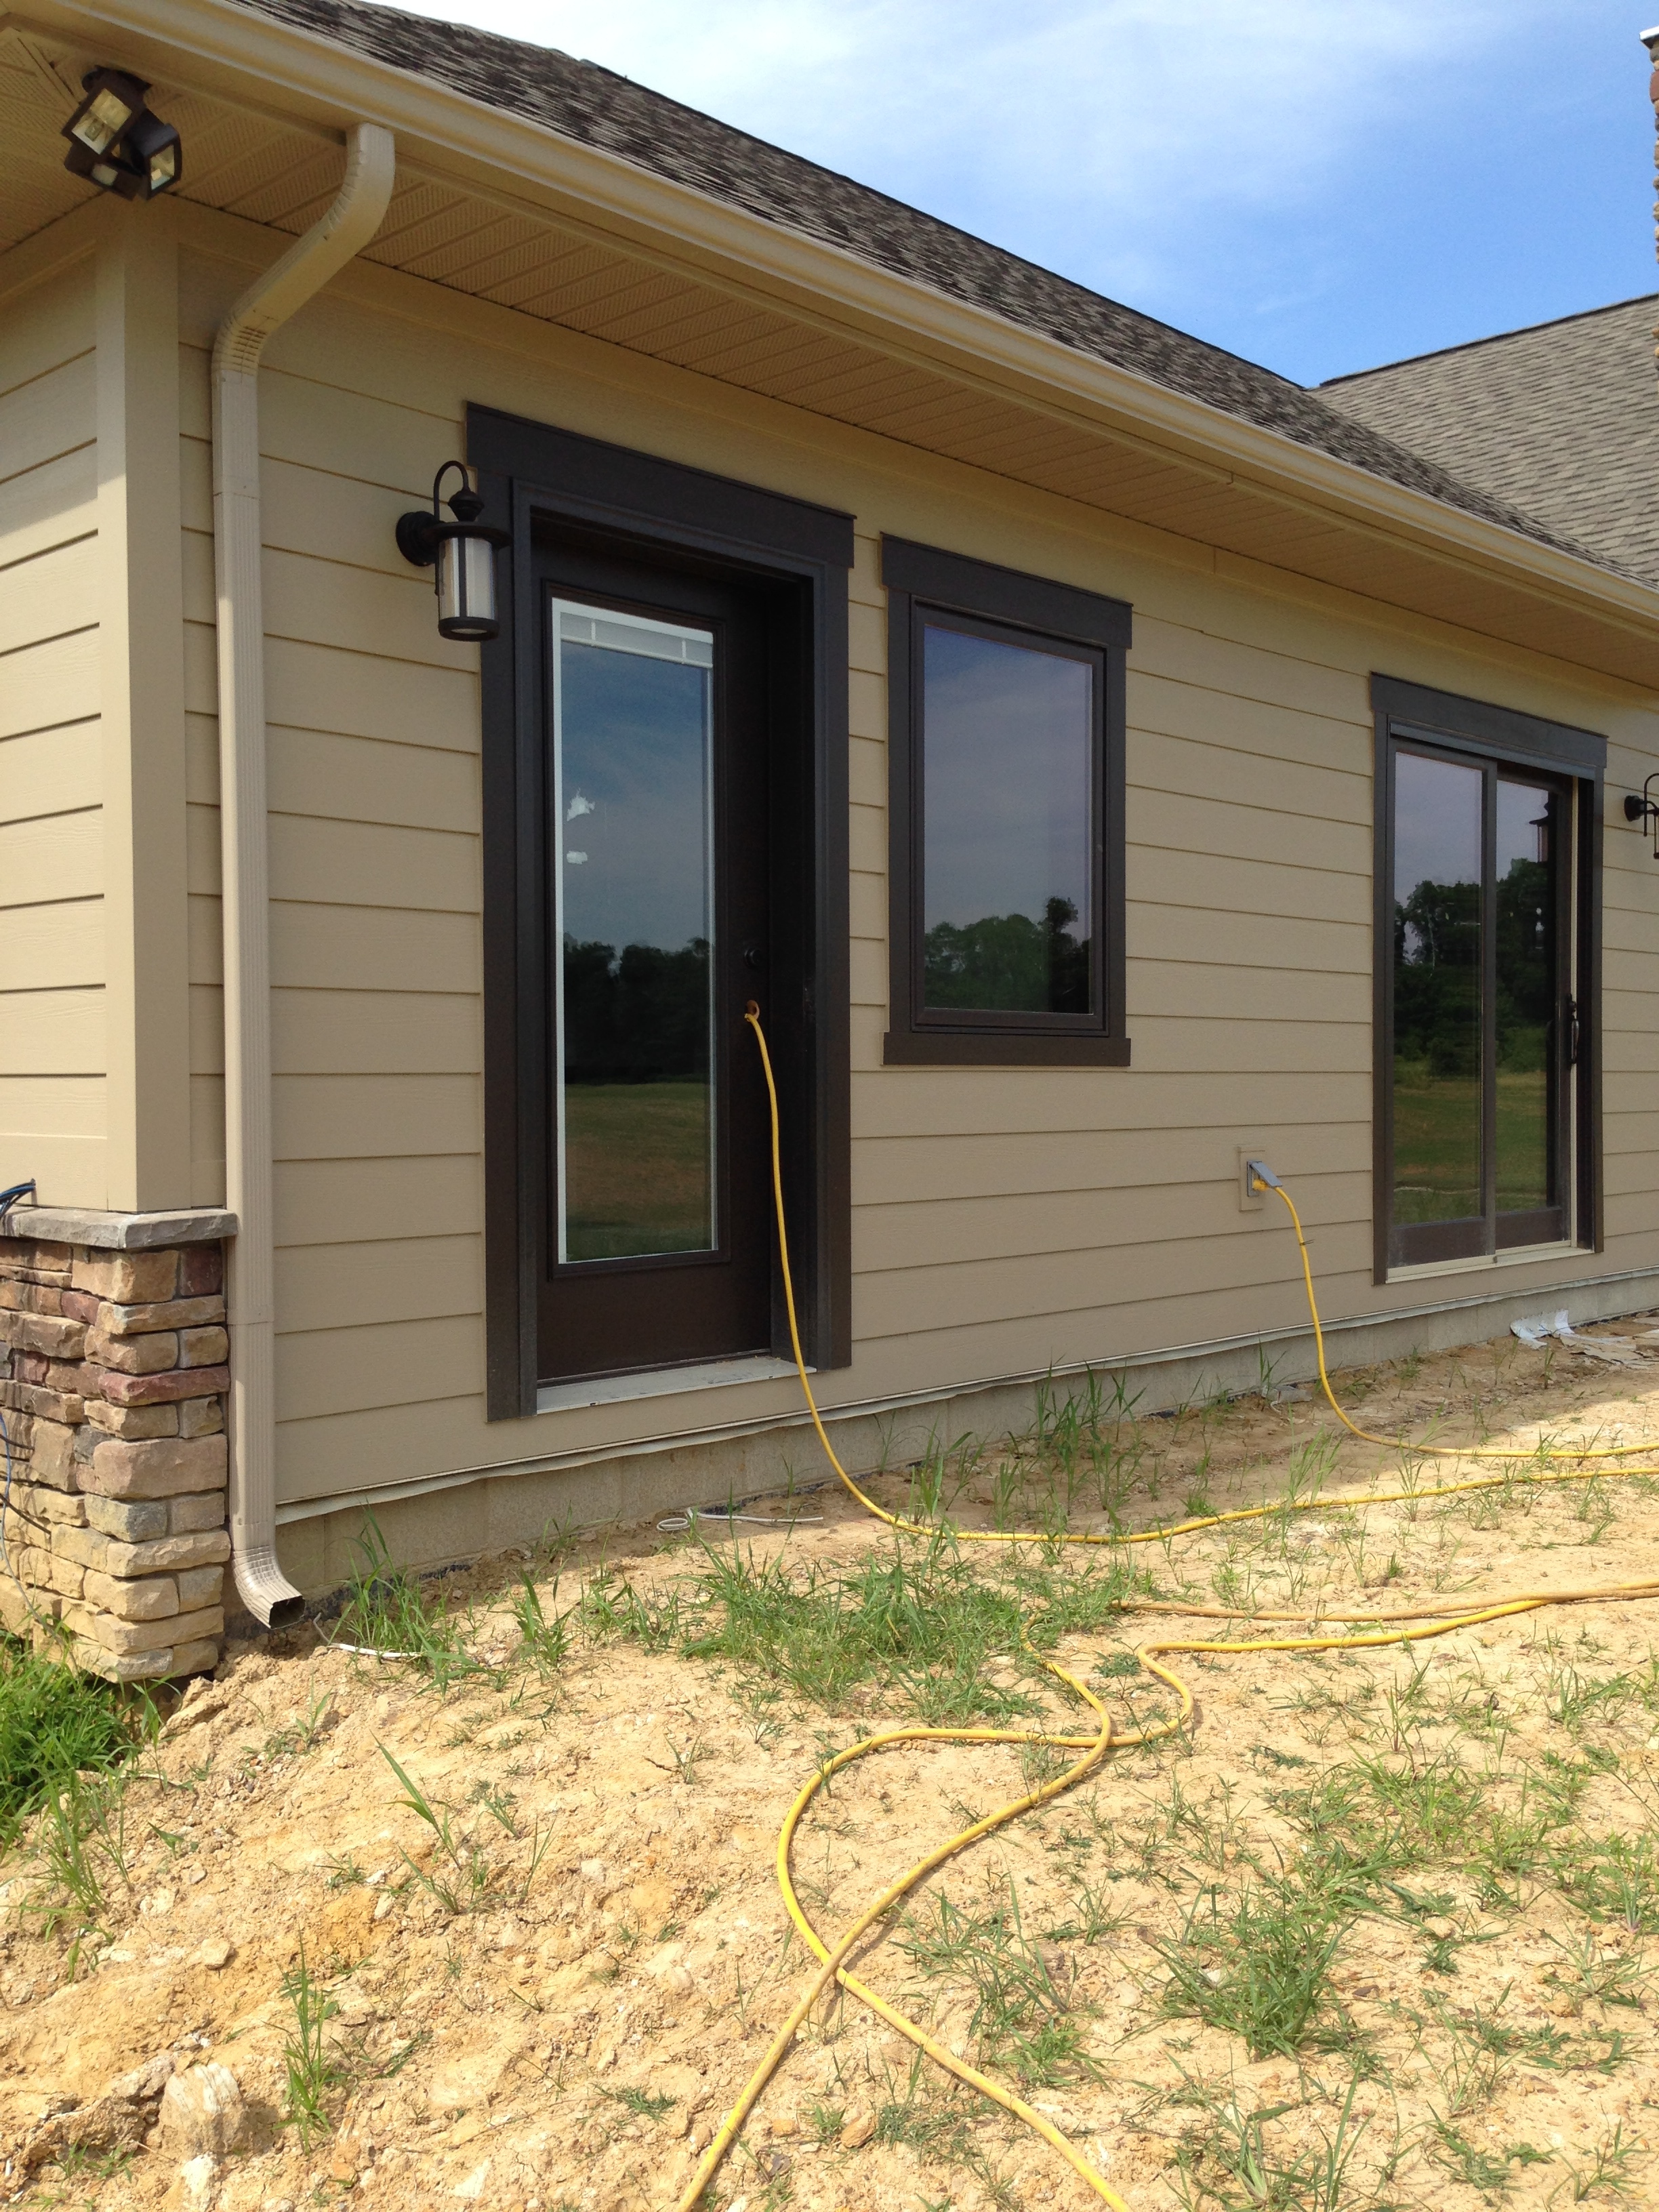
Laundry exterior door painted bronze
The plumbers worked the week of June 16, too. After they installed the line for the refrigerator ice maker, Bill decided to get the Kenmore Elite refrigerator we purchased over a year ago out of the box and get it ready so the plumbers could hook it up the next day. Panic quickly set in when he realized that the refrigerator cabinet he made was 3 inches smaller than the refrigerator we purchased.

Big ol refrigerator that didn’t fit!
Bill called me and kept apologizing for getting the cabinet size wrong. He felt horrible. He was ready to rip out the cabinet and try and remake it! I took a deep breath and calmly said, “Shut everything down and come up to Jill’s and let’s talk about it.” I’m telling you, the further we get into this construction, nothing surprises me anymore. I’ve found that getting upset doesn’t do much good. That doesn’t mean I don’t get upset here and there. But, this particular time. I did not.
Jill just happened to be home from work and close by when Bill called. As soon as I hung up she asked what was going on. I told her and I said the last thing I wanted was for Bill to re-make a cabinet. We were too far to go back there. Besides, we were both sick of cabinet issues! Jill said she thought we should just see if Sears would let us exchange the refrigerator for one that fit. Deja vu . . . another appliance return! When Bill came up from the house he looked so pitiful. We talked and I said we need to see if Sears will let us exchange the fridge. Besides, I was not that attached to that fridge anyway. Bill had really picked that model with two freezer compartments. I just liked the inside of the fridge section.
Long story short and several hours the next day haggling a deal at Sears, we swapped out the fridge for a smaller Kenmore Elite model, paid a larger than we wanted re-stocking fee, purchased a second small fridge for the laundry room, and scheduled the delivery of the two new refrigerators and pick-up of the other fridge for two days later, Thursday, June 19. Let’s just say Lowe’s gave us a better deal than Sears on our appliance returns. If I had to do it all over, we wouldn’t have purchased any of our appliances a year or two in advance! Thank goodness all the rest of the appliances seem to be okay.

New fridge that fits!
Here’s how one end of the laundry room is shaping up. In the pic below the gas dryer is on the left and washer on the right.

New smaller fridge and upright freezer on the right
However, we are swapping them because of the door configuration. We can’t change the door on the washer but Bill was going to change the door for the dryer because I really wanted the washer on the right where it would be next to the pull-out drawer cabinet where I was going to store detergent and softener. But, it makes more sense for the doors to open up so I can move the clothes from the washer to dryer without having doors in the middle.

Old opening configuration of Dryer and Washer

New door opening configuration of Washer and Dryer
Bill will eventually change the door openings on both the freezer and small refrigerator. Bummer. Must not have told Sears which way we needed those opening. More jobs for Bill!

Punch List
It’s an ever-growing and ever-changing list. But, it’s been great to have it as it keeps us all on track. Originally, Bill wanted to know where my name was on the list. That’s why I added my name under that one section. I took over some of the scheduling of subs while Jim was out-of-town the first week. Jim took over the major contractors after he got home. Bill continued to have the day-to-day contact with the subs and answered all questions on-site. And, in-between, tried to work on his long list of PITA jobs. I think Bill needs his own crew. And, some of the things are going to have to wait until after we move in.
Here are some of the things that the plumbers got done.

Vanity faucets installed
What they can cram into a small space under the kitchen sink: garbage disposal, instant hot/cold dispenser, filtering system, pipes and plugs.

All the stuff under the kitchen sink!

Kitchen faucets installed

Shower fixtures
And, they installed our toilets! I had read on a forum that as soon as the toilets were installed, contractors start using them instead of the porta-potty. We didn’t want them to do that! Ewww. Heck, Bill and I weren’t going to use them since the septic laterals weren’t installed yet. So, Bill shrink-wrapped the toilet seats! That Bill is so clever.

Shrink-wrapped toilet seats.
And look what Bill has in the pole barn! They hooked up his toilet and his hot water heater for the radiant heat. They have to wait until electricity is finished in the pole barn to finish the rest of this. Bill will be eventually installing walls around this bathroom.

All the plumbers have left to do in the house is to install the handheld shower which was on back-order for over a month, install an extended gas line for the gas dryer move, and fix the reverse osmosis filtering system which is leaking and possibly not hooked up properly to the kitchen. We still have very sodium-lased water which we thought the RO system was to eliminate. We are also bringing in a water specialist to see if he can help us.
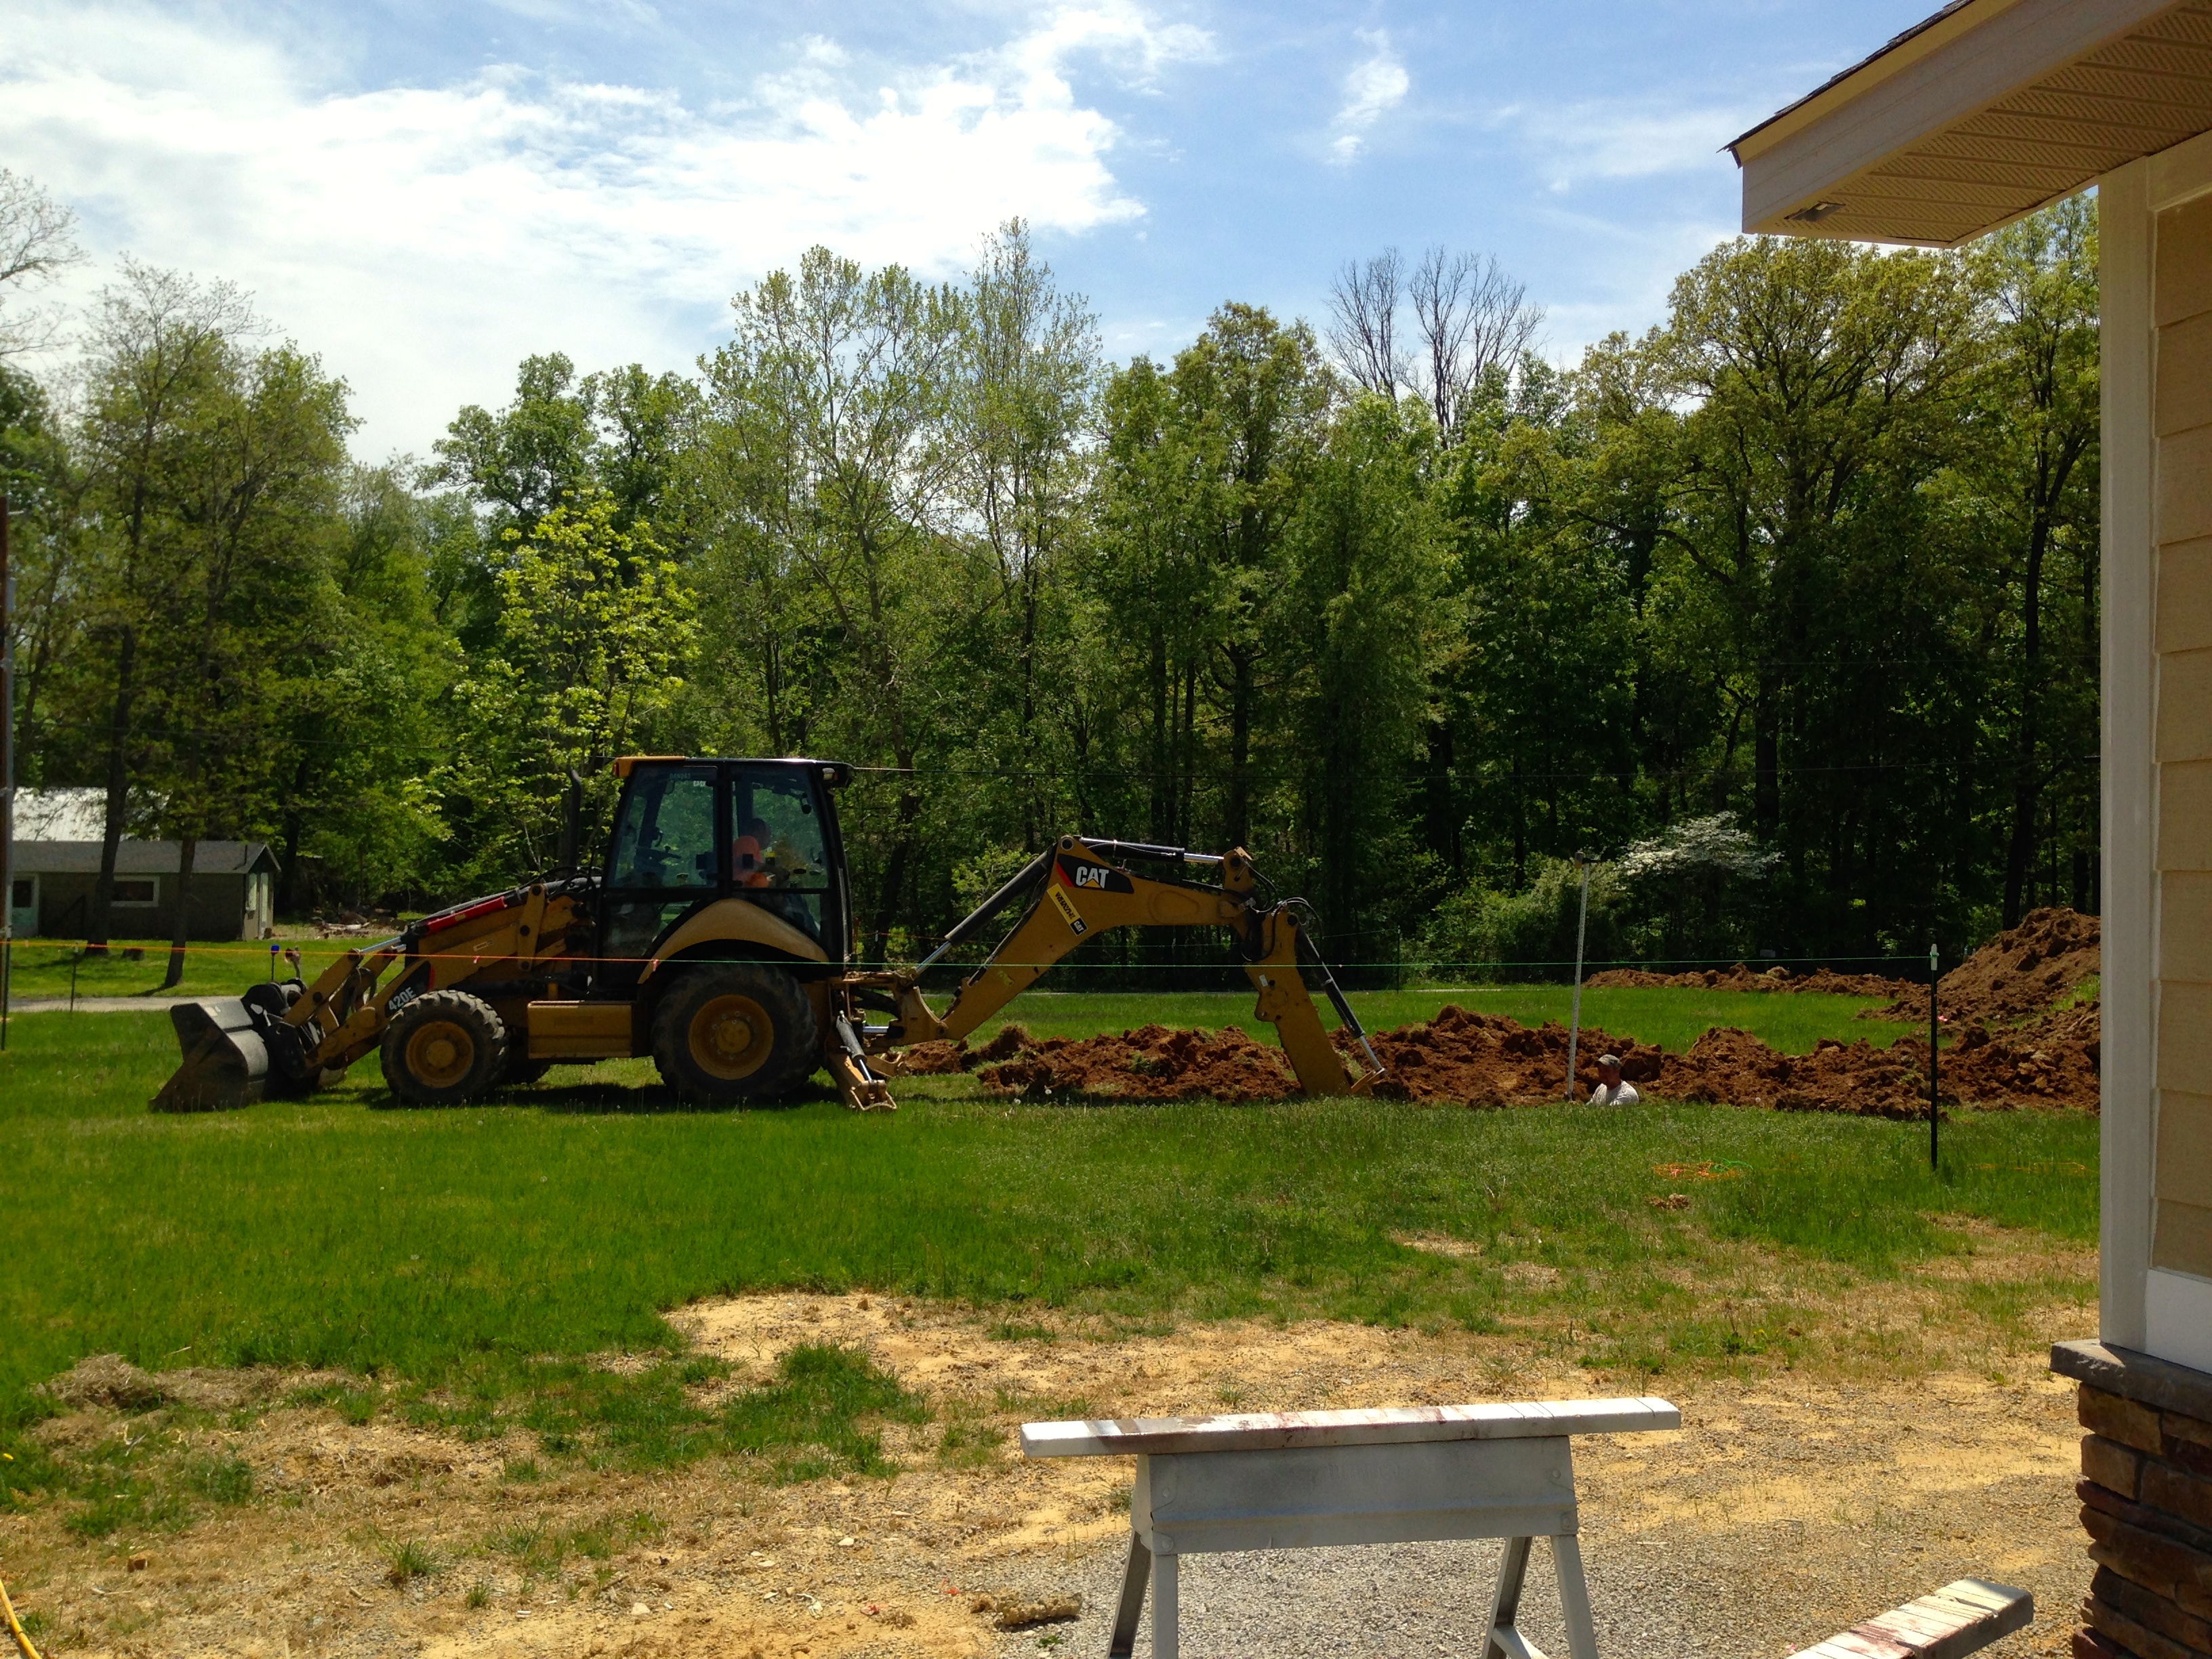
Friday, June 20, we got excited because six loads of dirt were delivered. We thought that meant our excavator would be coming soon to install the septic laterals and do some grading.

Loads of dirt delivered
Sunday, the excavator worked and graded the area in the front of the house and the back patio area and left word that we could call the concrete guy to install the front walkway and back patio. But, no septic laterals. Sad. However, he talked with Bill about drainage pipes we would need to buy for the area between the house and pole barn. And, Bill wanted to buy all the stuff for the pop-ups from the gutter drainage that he was going to install.
The week of June 23 was slow. More hold-ups for work. We needed electrician before any more plumbing could be done. The electrician was swamped. Bill called him on Tuesday that week and he said he couldn’t get to us until possibly the end of the following week but no definite date. Jim said he’d prefer us waiting on the concrete until he was back in town so he and his dad could make sure it was graded properly.
So, I scheduled David to come and install the shower glass door and the shower grab bars. I got his name from Ferguson’s (where we ordered the door). David had previously come out and measured everything and gave Ferguson’s the info about door configuration before we ordered it. David came Thursday, June 26, to install.

Shower glass door

Shower grab bar

Hand-held shower head grab bar assembly
And, the HVAC guys came that day, too, and installed ductwork in the crawlspace. They said they’d be back the next day or sometime the next week. They left us the contraption that had to be installed on the roof. It was silver in color. Bill wanted to spray paint it to match the roof. And, since he couldn’t find any bronze colored shelf pins at any store we looked at, he bought brass ones and said we could spray those, too, with the same paint. I kept asking Bill is there was anything on the list I could help him with and finally he said I could spray paint. Of course, Bill set everything up and stood and watched me as I painted. It took me less than 10 minutes to spray everything. I told Bill that really didn’t help him.

Roof vents

Shelf pins
Bill continued to work off of his list and kept finding more and more things that needed to get done. He installed the gas cooktop which he said was a bear!

Cooktop

Cooktop all in!
He installed the trash compactor. Unfortunately, the handle screws are too long that he has to cut them down eventually. It’s always something.

Trash compactor
He worked so hard to get all the kitchen cabinet doors, slides, drawers, and drawer fronts installed. I was reminded several times a day that big honkin’ drawers are not the easiest things to install correctly and evenly especially with soft close slides. But, he did it!!!!

Big honkin’ drawer under wall oven

Three drawers in the island next to the dishwasher

Sink base doors in island
We decided not to put the tilt-out tray in the island sink base cabinet like Bill installed on the laundry sink cabinet below.

Laundry tilt-out tray
However, Bill had already purchased the trays, so he installed one on each side of door interiors.

Trays mounted on the interior sink doors
When Bill started to make his list for all the drainage pop-ups and drainage pipes he needed to buy, he noticed that the downspouts that the gutter company installed were the wrong size. They had installed 3″ instead of the verbally requested 4″. Bill called the gutter rep and said he’d take half the blame, but he really wanted the 4″ downspouts as the 3″ clog up too much. He asked that they be replaced prior to the concrete being poured. Those finally got installed on Wednesday, July 3.
Bill scheduled our carpenter’s wife Lisa to install our kitchen backsplash tile. They asked us to purchase the tile and the grout and Lisa and Tim would supply the mortar, caulk and labor. They started on the backsplash the afternoon of Friday, June 27. Tim came to help Lisa cut the tile but she did most of the installation.

Lisa installing the backsplash tile

Finished product

Lisa and Tim finished tiling Friday night as Bill worked on drawer fronts and I installed all the oil-rubbed-bronze window hardware covers and handles throughout the house. Lisa came back Saturday to grout and wipe down the tiles afterwards. Then she came back Sunday and put a sealer on the tiles and caulked everything. We are very happy with the results.
At the beginning of this week we finally got all the subs lined up and committed to work on certain dates so we could make July 12 our official move-in date. We are keeping our fingers crossed that each one shows up next week and gets things done. This week went like clock-work so we hope it all continues.
Monday morning, June 30, I contacted Rick about our bathroom cabinets. The doors needed to be aligned. They just wouldn’t shut correctly. And, the drawers in the hall bath were too close together and not opening without rubbing. Oh, and we found the tops to the window seats that he needed to pick-up. Rick came out that afternoon. He was able to adjust the drawers (still not perfect) but not rubbing. He wasn’t able to fix the doors on either bathroom. He said the doors were about 1/8″ too big. He ended up taking all six doors to our bathroom vanities with him to be cut down. I’ll have to check with him on Monday to see when he’ll have them back. Bill wants to install handles and knobs in the bathrooms this week.
BTW, here are the handles and knobs we bought for our master bath.

Master Bath cabinet hardware
Poor Bill picked the hottest day we’ve had this summer to install a pole down by the lake. It was in the mid 90s with heat indexes over 100. That was a two maybe three shower day. He dug a hole three feet deep and managed to get that heavy pole in it and pour concrete to set it. He had electric run down by the lake and wanted the electrician to install an outlet on the lower part and a security light on the upper part.

Pole by the lake
Bill also decided to call the dumpster people to pick it up and get it out of here. I had already scheduled our residential trash pick-up to start on Thursday the 3rd. So, he worked like crazy to crush all the stuff down with the tractor scoop. A neighbor brought over some junk to load into it. Bill even took apart the grandkids’ old trampoline that bit the dust after blowing away into the woods. All those pieces fit in there. And, Bill also cleaned out all the dirty chicken coop junk and plastic and got rid of that. Bill helps everyone out! It was nice to say goodbye to this big blue container!

Full dumpster
And, now we can drive two cars up to pole barn without any problems.

Bill also went and bought drainage pipes and fittings and pop-ups before our excavator came on Tuesday, July 1. Then he laid them out. Look at all those drainage pipes! Cha-ching!

Jim assessing all the drainage pipes
We finally got our septic laterals installed on Tuesday and passed inspection. Yahoo!!!!

Septic laterals installed
Thank goodness he was able to get that part done before a big thunderstorm rolled in that afternoon. The excavator did come back on Wednesday, July 2, and did some grading in the front of the house and buried the drainage pipes.

Buried drainage pipes
Unfortunately, they ran out of pipes and Bill had to buy more, and then install and bury them. That’s how he spent 4th of July!
Our HVAC guys returned on Wednesday, the 2nd, to finish up. They installed the cold air return registers, but left us all the floor vents to install. That was something I could do!

Cold air returns

Floor register vents

Digital thermostat installed

HVAC system all built and working!
Oh, and as if Bill didn’t have enough to do, he worked off and on trying to get the stove exhaust fan installed so the HVAC guys could get it vented. He had such a tough time drilling holes in the tile. The HVAC guys said most people installed the exhaust fan first and had the tile installed around it. We didn’t want that look, but there was a price to pay for doing it that way. Drill drill drill. And, then when Bill got the exhaust fan hung up, it wasn’t level and he had to drill some more. Poor Bill!

Exhaust fan going up

The last section clamped together
Because of the way the cabinet above the exhaust fan is situated, Bill now has to put some moulding around the top of the exhaust fan where it meets the cabinet bottom. Always something you don’t plan on doing.
To prepare for the electricians to come on Thursday, July 3, Bill and I tested every outlet and light switch to see what was working and what wasn’t. We had a problem with almost every room except the bedrooms with how they installed the light switches. Before we ever had electrical rough-in, I had put labels with what I wanted in the order I wanted for switches and stapled them next to the area where they would be installed. Well, they got the switches for the correct items installed; however, the order of the switches were either random or backwards. Very frustrating. For example, when entering the garage from the house, I wanted the first switch to be the interior garage lights, then exterior garage lights, and then the attic lights. What we got was attic lights, exterior lights, interior lights. Don’t mean to sound picky-picky, but we tried to think through how we would live in this house and what lights we’d be using the most and where to put them.
So, I took pictures of every run of light switches, printed them out and marked how I wanted things switched. And, I printed out a separate punch list for the electricians to work off from. Here are two of the light switch issues. The house is dotted with these photos hung up above the switches.


Bill had to get his pole barn ready for electric, too. He worked really late on Wednesday to prepare for them. He had labels stapled to walls throughout the pole barn. He was so excited at the end of Thursday to finally have lights he could turn on with a switch and half of the pole barn wired and working! Goodbye long extension cords running from the pole barn to the house laundry room door.

Let there be lights in the pole barn

Electrical box

Label and outlets installed

Conduit galore!
I had originally bought two of these LED exterior lights for the new house at Costco before we left Indy. I loved the look of them. We had planned to use them as the front porch lights. However, before we had our electrical rough-in months ago, we decided we wanted to install lights outside the garage, too. I tried to see if I could buy two more of these lights. Costco didn’t carry them anymore and Amazon had them for double what I paid at Costco. But, the biggest kicker was everyone was returning the lights to Costco according to the reviews. There was failure on many of them just after a couple of months. Bill and I decided we didn’t want to risk replacing them on the house before we even moved in. So, we decided to install them on the pole barn. Bill is very happy and keeps teasing how nice they look. I just hope they don’t quit working!

Exterior LED light fixtures on the pole barn
The electricians are returning on Monday, the 7th, with a large crew. We only had two guys on Thursday. They will finish the pole barn and house then and call for our electrical inspection.
Here is what is scheduled for the next two weeks:
- Monday, July 7, electricians to finish house and pole barn and inspection called in.
- Tuesday, July 8, plumbers to finish house and pole barn and inspection called in.
- Wednesday, July 9, carpet installed in the bedrooms.
- Wednesday or Thursday, July 9-10, colored concrete poured for walkway from garage to front entry and for back patio.
- Wednesday night pick up cardboard throughout the house and put in burn pile
- Thursday, July 10, post-construction cleaning crew coming to clean the house, top to bottom. If they don’t finish, they’ll return the next day.
- Friday, July 11, window cleaning crew to clean windows and glass doors inside and out.
- By Friday, hopefully final inspection approved and certificate of occupancy received.
- Saturday-Sunday, July 12-13, move all our furniture and boxes and bins from the storage units to the house.
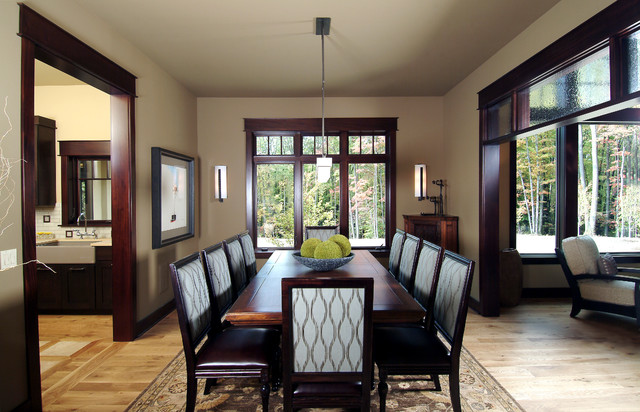
- Saturday, July 12, new dining chairs being delivered. Sometime we need to put together our new dining table!
- Monday, July 14, family room furniture, rug, and king mattress and box springs delivered.
- Week of July 14, start unpacking and moving things from Jill & Jim’s to new house.
- Wednesday or Thursday, July 16-17, concrete driveway and walkway from back patio to pole barn poured.
Whew! Lots to do in-between the above, too! We’ll probably move in without a lot of things done only because there is only one Bill. I’ve always known I’ve relied on this guy to do just about every handyman thing there is to be done throughout our married life. I just wish he had a crew of his own.
We eventually will get our garage doors replaced and it’s really okay if it’s done after we move in. And, we had one of our shakes blow off during the last storm. Apparently, someone didn’t install that one very well!
This will more than likely be my last entry until after we move in. Plus, phone calls to get internet service weren’t successful last week. I was told by AT&T that they do service our area (Jill & Jim and Joan & Jim have AT&T service), but there are no more ports available for new customers! Jim has a couple of friends at AT&T and has already contacted them. We’ll wait and see if they can help us out before I research other ways to get the web. I hate to think I’d have to do everything on my phone. Blah!
And, if I may ask, please send all good vibes this way and prayers for our strength through this final stretch!
Thank you to all who have followed us through this journey!